Engine mounts
As the suspension was total off the car I figured “Why not do the engine mounts, how hard could that be" Turns out even with the suspension off it’s still rock hard to do and the steering rack needs to be disconnect and tie wrapped out the way. The main issues are:
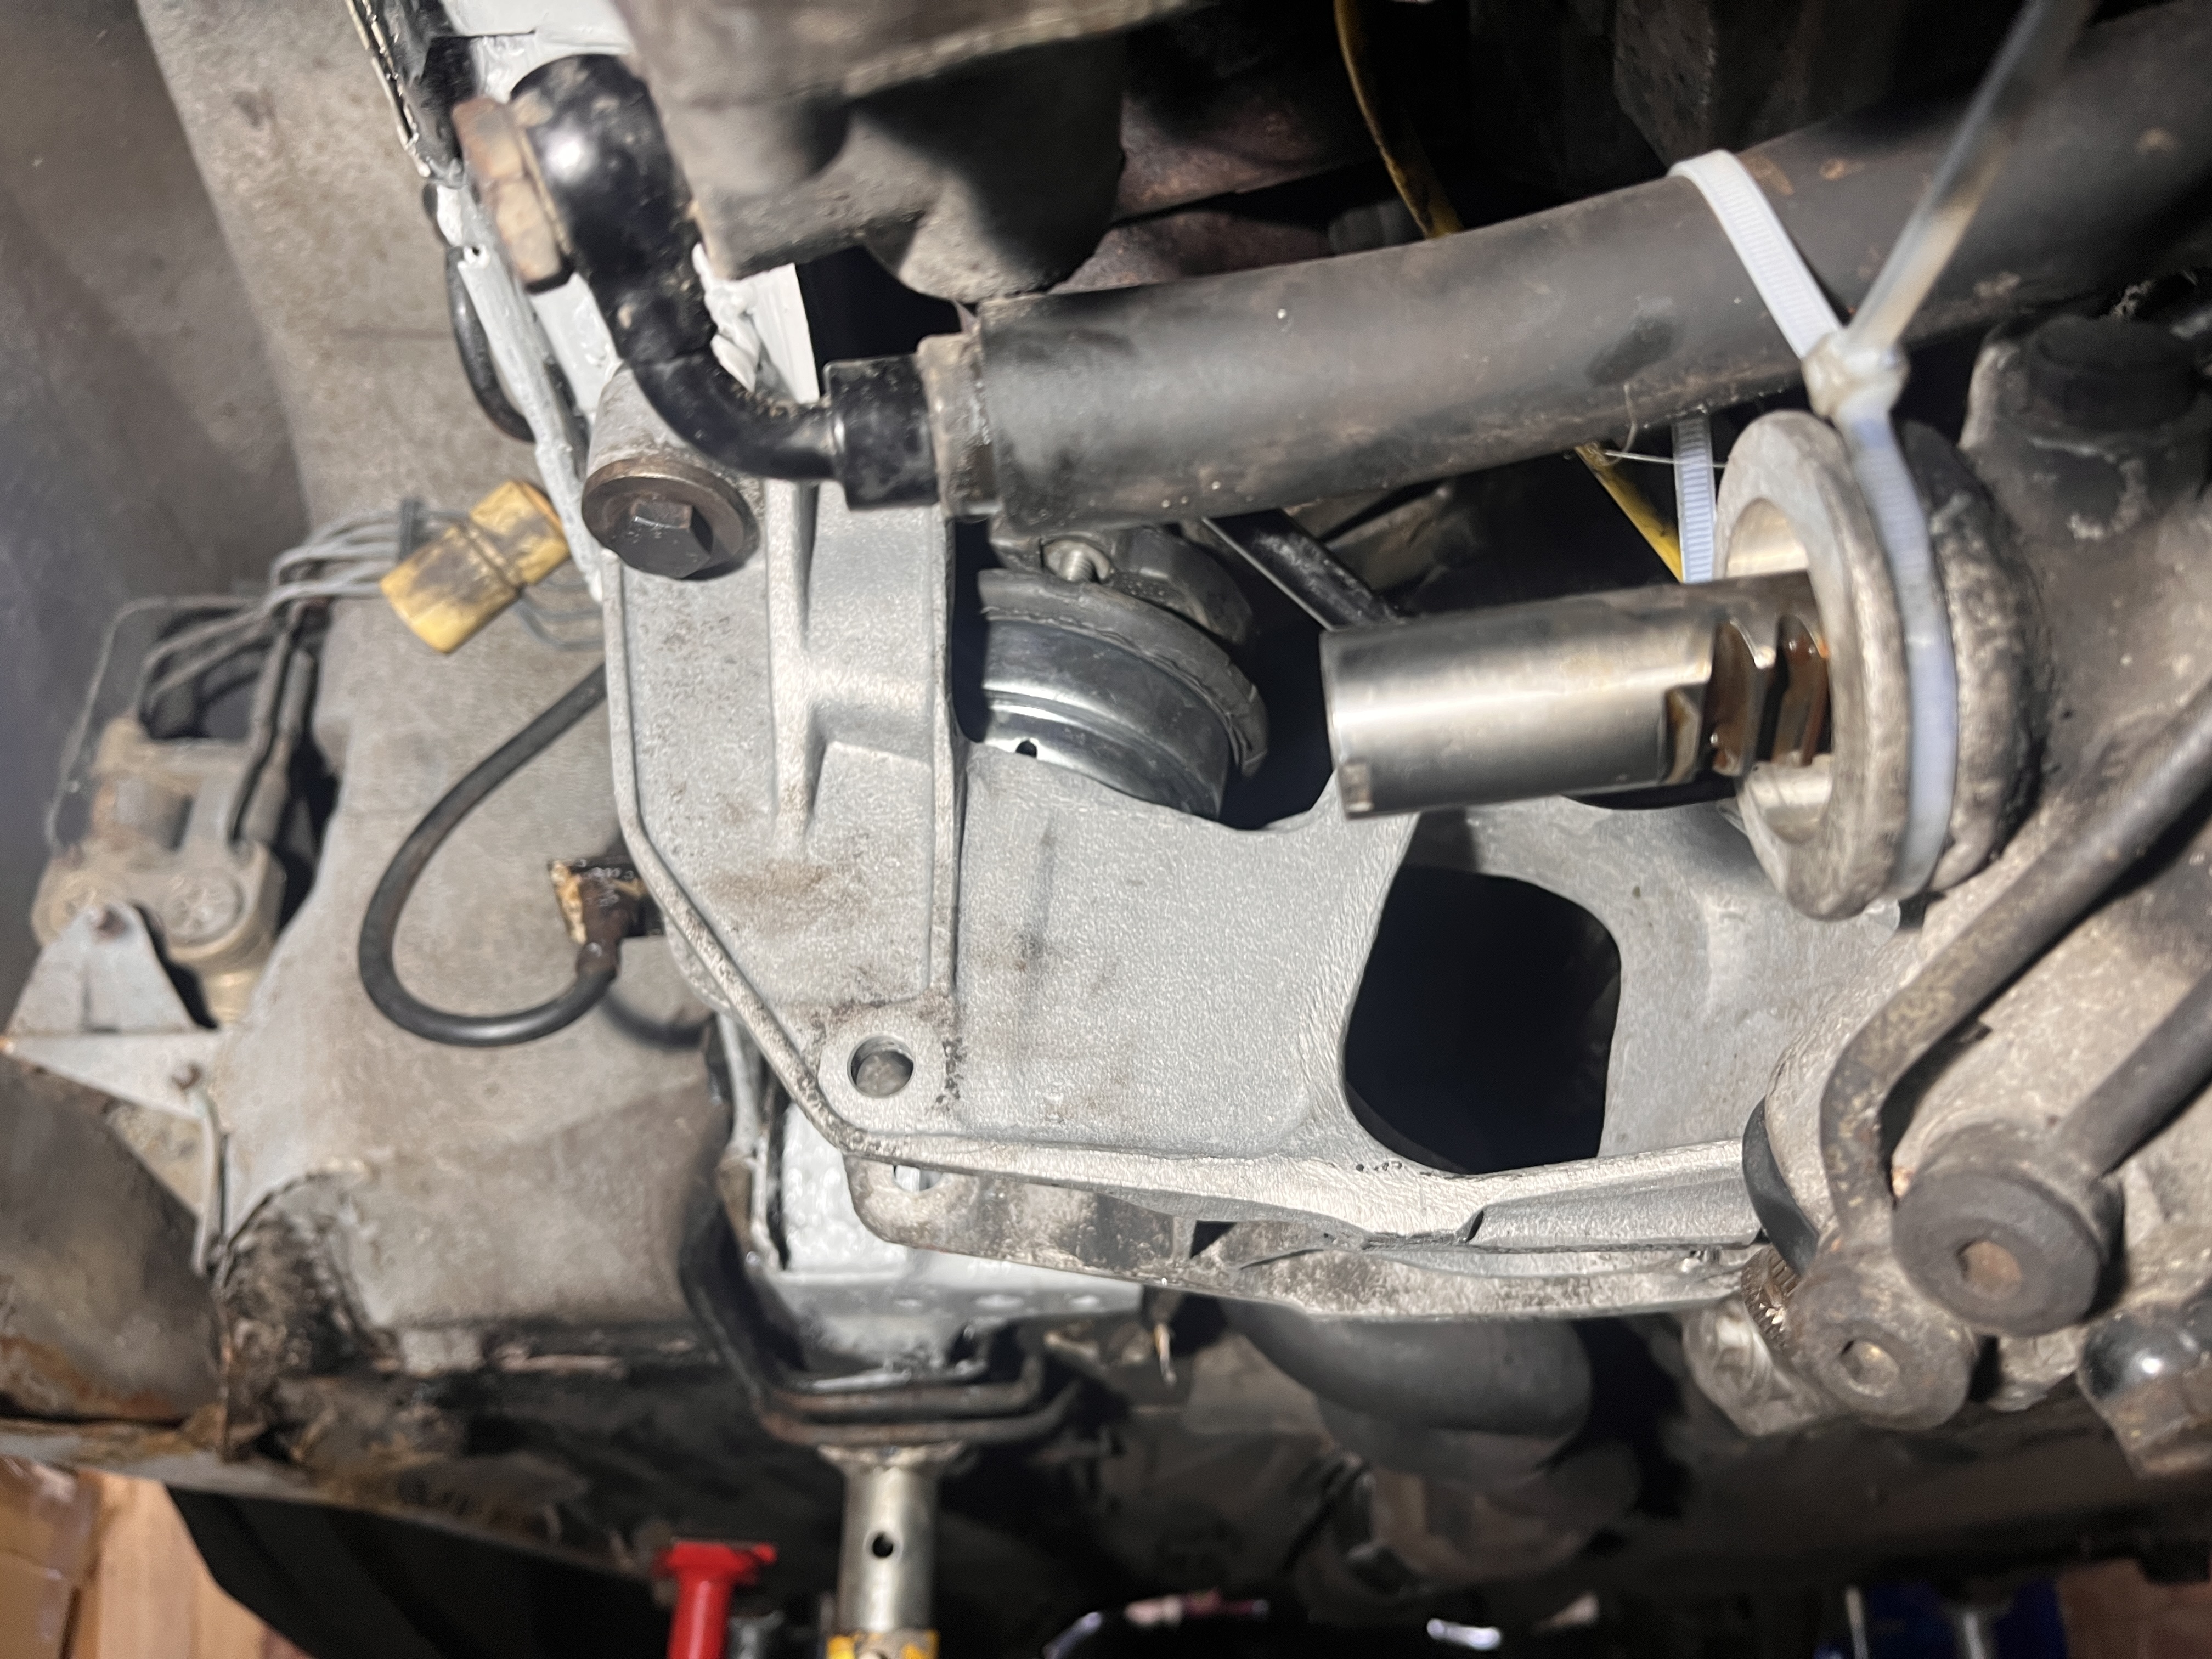
- Supporting the engine and torque tube
- Access on the driver side as the engine mount sits under then manifold which is really tight to the body on the S2 due the the 16v head being bigger.
Pickup a engine support beam from Machine Mart for a £100 which did the trick - DUAL HOOK ENGINE/GEARBOX SUPPORT. Used the engine lift hook on the back of the head and the inlet manifold as one support point and the passenger side engine mount bracket as another and then under the exhaust manifold as the last one. Used the chain for one of the support point and straps for the other two.

I managed to get the engine beam off and drilled out a helicoil in a few M6 snapped bolt holes that hold on the engine tray, which meant I had to purchase a pillar drill from Screwfix for £90. The beam was oiled up and mega dirty, so I did one pass with oven cleaner and then brushed on some Hapic power plus x10 bleach, which has about 9% hydrochloride acid and costs less than £2 from most pound shops. It came up lovely after a few hours of socking and a quick jet wash. Used the same method on the plastic engine tray, which came up well.


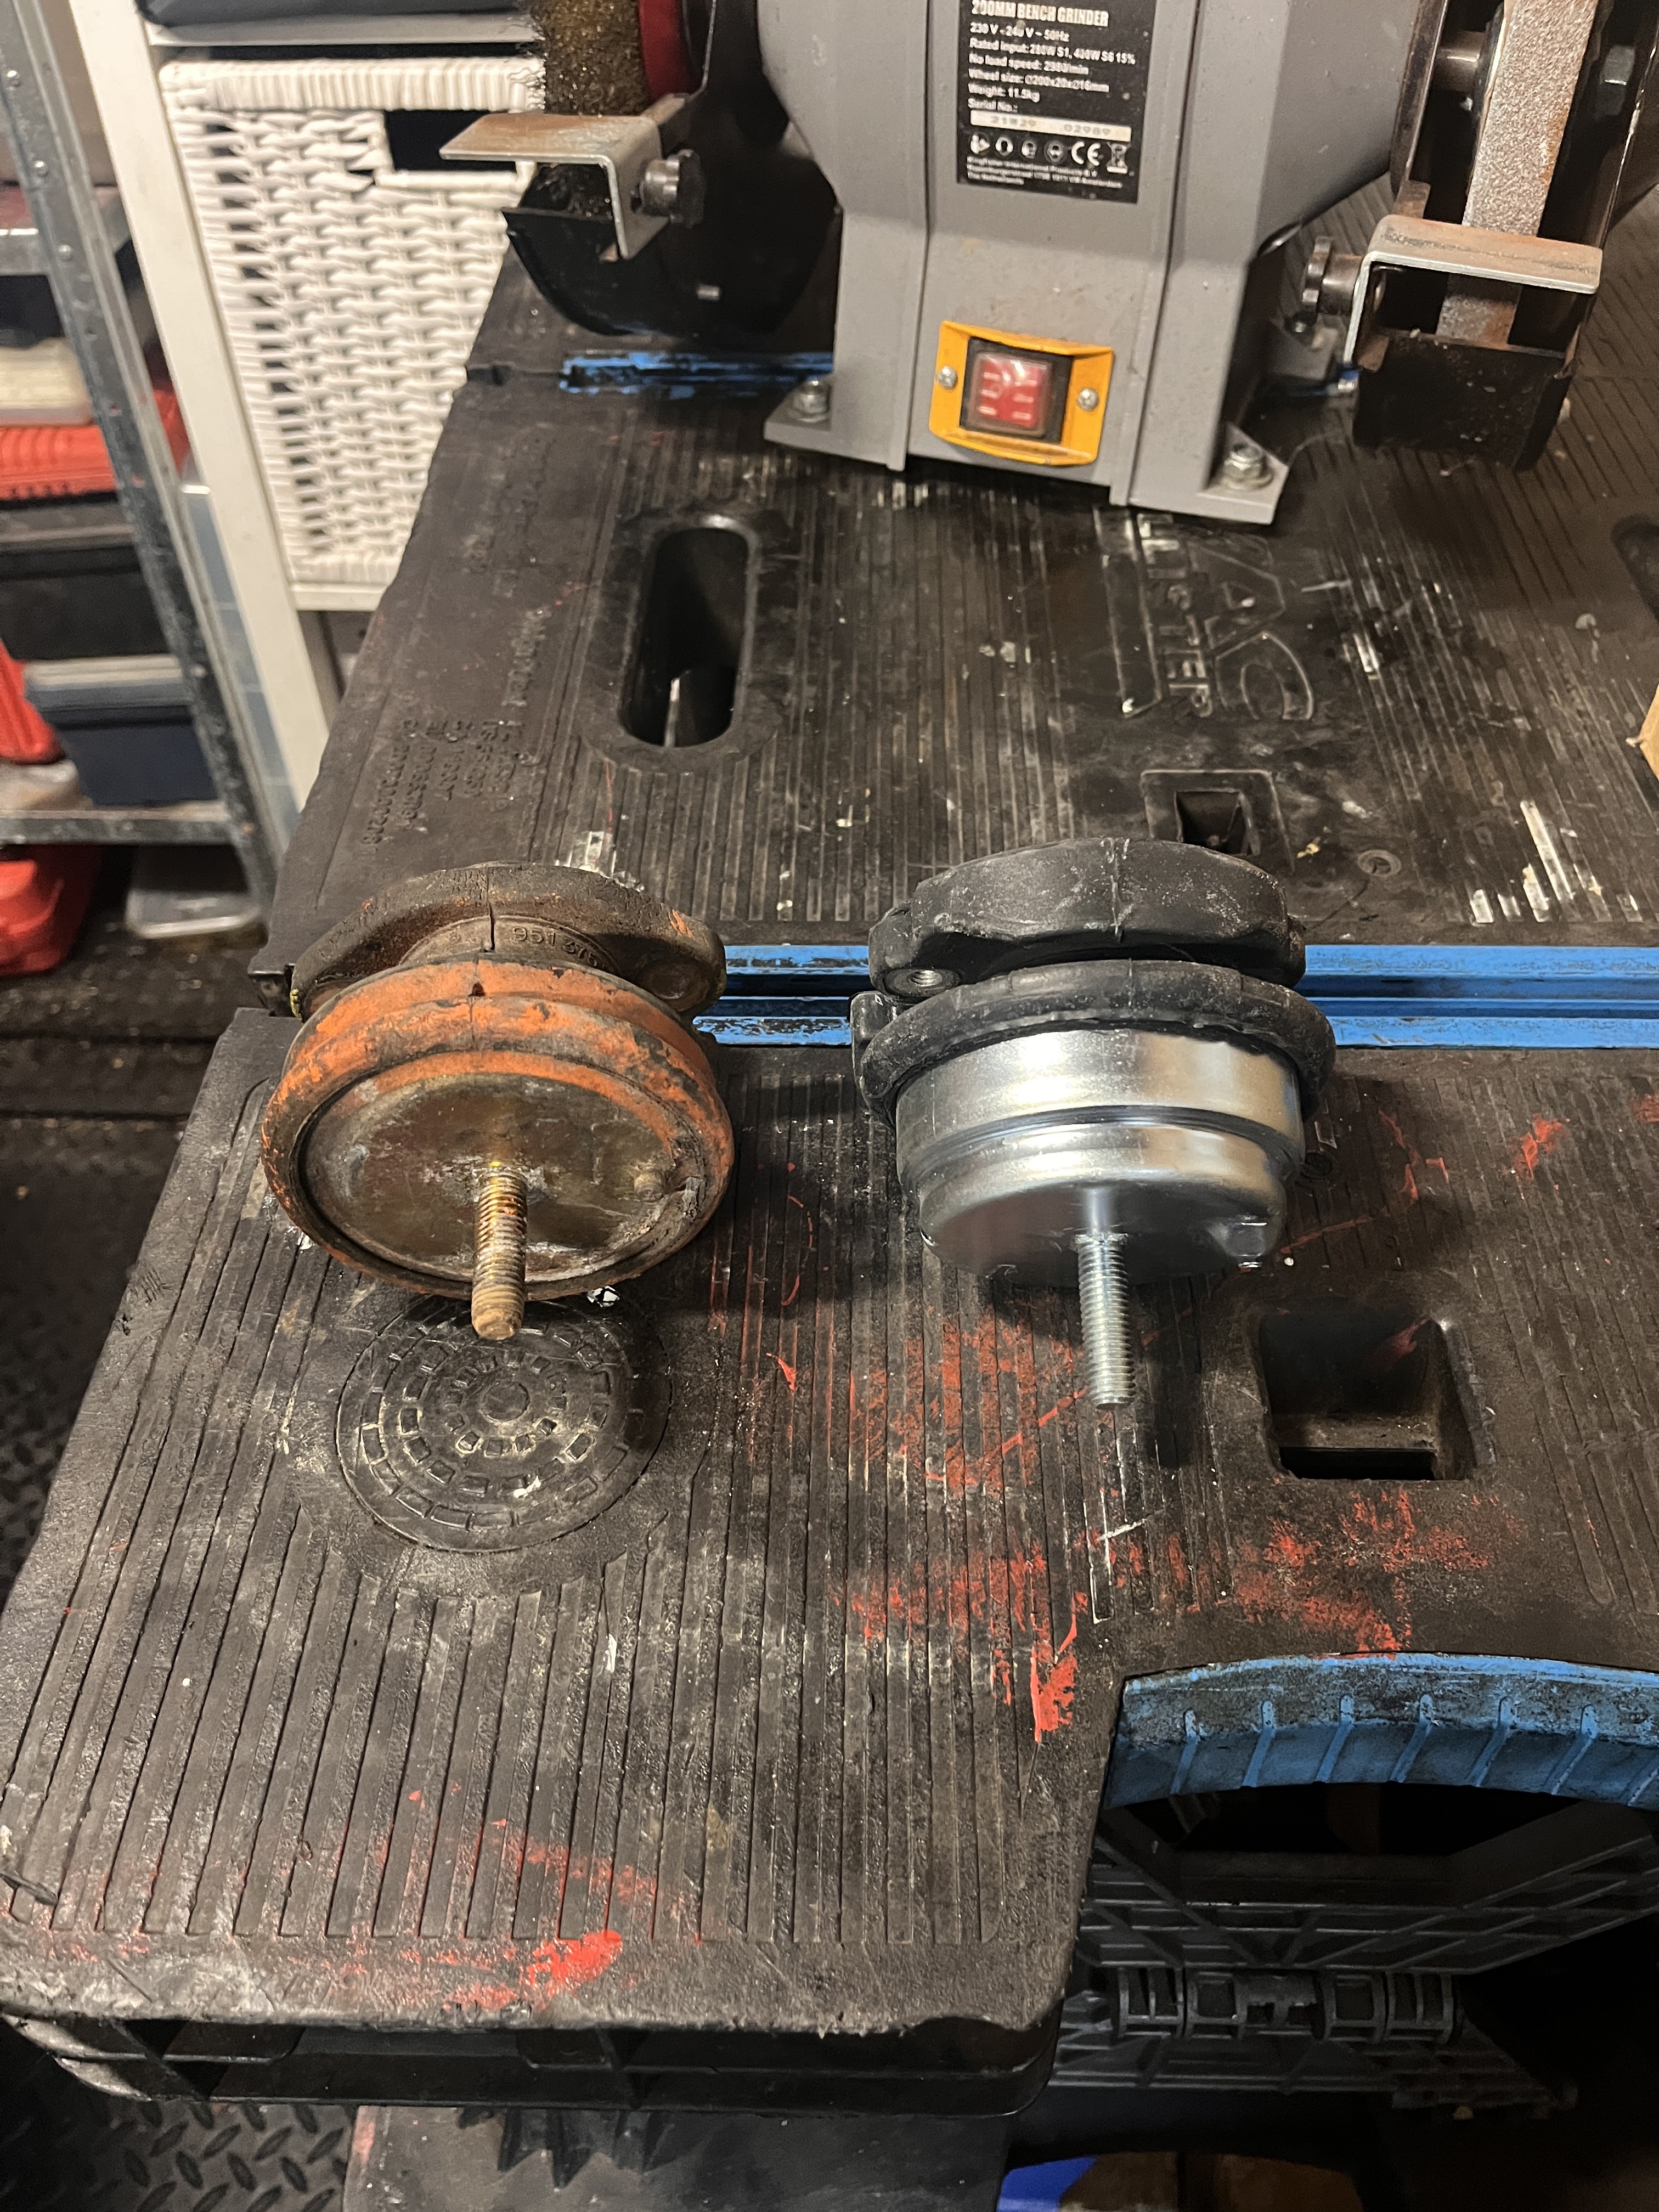
The engine mounts on the driver side was shot but the passenger side one was golden with a gap of 72mm. The new mounts do away with the spacer that sits between the mount and bracket from the block as they have a raised platform. The new units also are threaded so the bottom nut is not required.
The new engine mounts are a different shape so the old bolts are too long, the old bolt are 50mm and 40mm bolts are needed as the old bolts bottom out on the lip of the silver bit where I am guessing the hydraulic oil lives.

A few big bolts are used to secure the secure the engine to the cross member, these bolts were rusted up and required cleaning up on the terrifying buffing wheel of fear. Luckily none of the bolts got caught up in the wheel and fired back into me at 90 mph. I tried the bolt hot bluing process to stop them rusting up again but the smoke from the process is really bad so I ending up finding a company in Leeds that does zinc plating and sent them away to get sorted.

Reassembly is fairly easy, with the use of a crowbar to ease things back in to place. The driver side should be put on 1st as the passenger side has elongated holes . The heat shield on the driver side is the most difficult part of putting things back together.