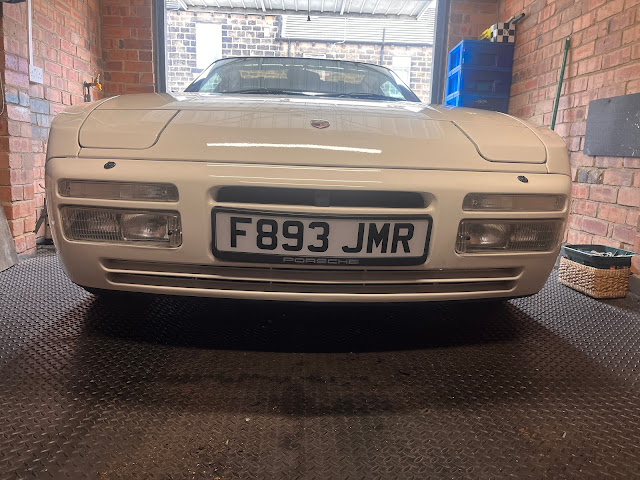
Front Bumper Lights Re-Install
Cleaned up the scraps on the front bumper with some scratch-removal paste and the buffer so I could see the actual damage from the spin.
The polish removed all the dirt and left a clean surface for the touch-up paint. I used a kit from Scooby Paints (back in the mix). Their kit has a high-build primer, colour-matched paint and a paint-polishing compound. Their lacquer-free formula makes the touch-up process a lot easier and not as messy as other kits. After filling in the scratches with primer, I fitted the bumper lights and once the bumper lights where in place, the air box could be refitted.
The front nose cone can be refitted after the air box is fastened in.
The primer was left to harden overnight, and then the paint was applied and left again overnight to set before the polishing compound was used with the buffing wheel to smooth the touch-ups out. The front end was polished using Meguiars Ultimate Compound and then waxed with Collinite 915 Marque D'Elegance Wax
While not perfect, the result was good enough to hide the scratches from sight when looking directly at the front of the car. The touch-ups can be seen on close inspection while the vehicle is stationary, on your hands and knees, with a head torch.


